


Acoustic glass repair in vehicles addresses damages like chips and cracks, preserving structural integrity and soundproofing effectiveness. DIY kits with specific tools and materials enable efficient repairs for smaller issues. Assessment, cleaning, sanding, filling, and coating are key steps, ensuring professional results that match original finishes.
Unravel the art of acoustic glass repair with this comprehensive beginner’s guide. Discover the intricacies of various glass types and how to identify common damage. Learn about essential tools and materials needed for successful repairs. This step-by-step process, from initial assessment to restoration, equips you with the knowledge to tackle cracks, chips, and more. Master the techniques behind reviving acoustic glass and explore its potential in enhancing your space.
- Understanding Acoustic Glass: Types and Common Damage
- Tools and Materials for Effective Repairs
- Step-by-Step Repair Process: From Assessment to Restoration
Understanding Acoustic Glass: Types and Common Damage

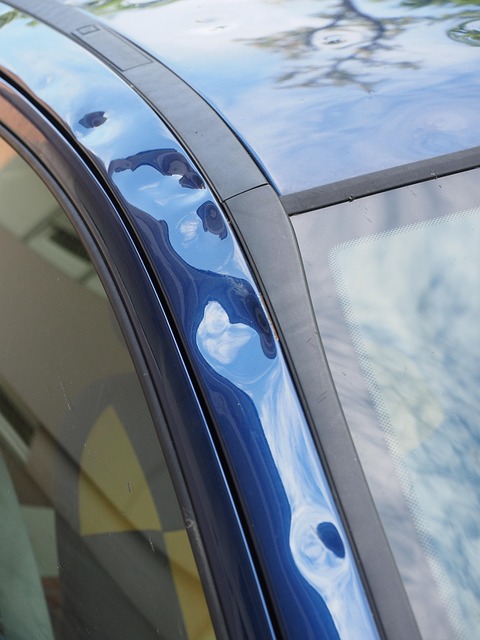
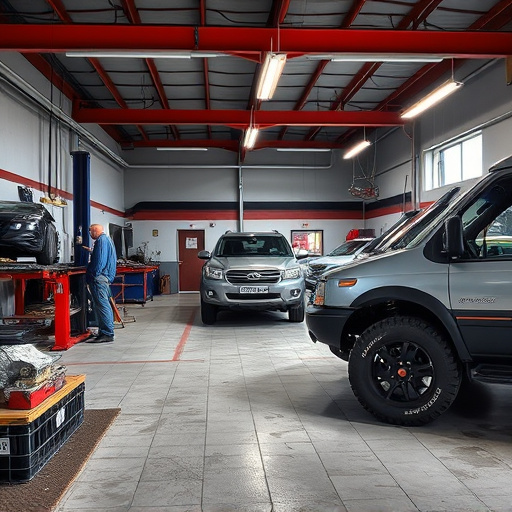
Acoustic glass, found in vehicles like cars, trucks, and even luxury vehicles, plays a crucial role in the overall performance and safety of a vehicle. Understanding its different types and common damage is essential for anyone interested in acoustic glass repair. There are various types of acoustic glass designed for specific purposes, from window glass to sunroofs, each with unique properties that affect how they should be repaired.
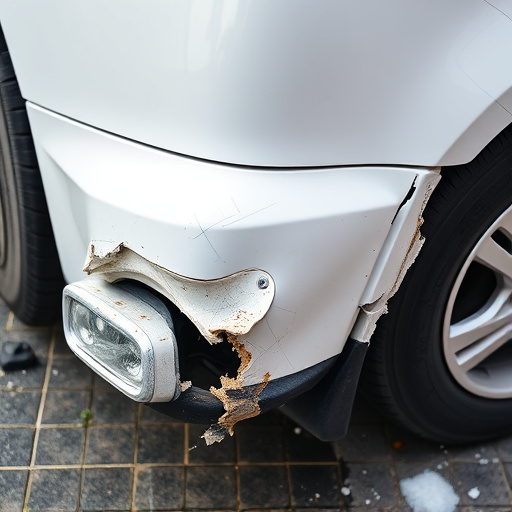
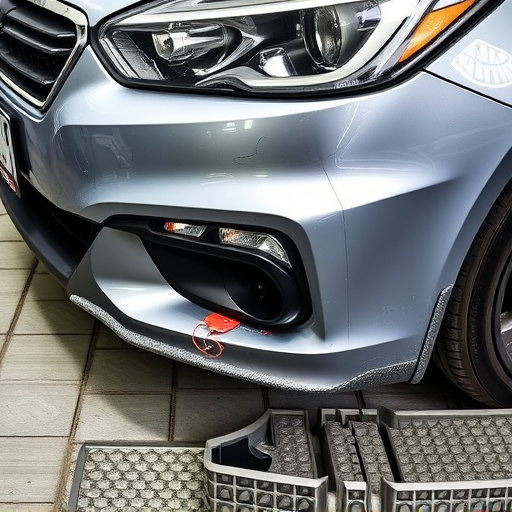
Common damages include chips, cracks, and punctures caused by debris, collisions, or even weather conditions. While some minor damage can be temporarily fixed with DIY kits, larger issues require professional attention, especially when dealing with auto painting and fender repair for luxury vehicles. Proper repair techniques are necessary to maintain the structural integrity and soundproofing capabilities of acoustic glass, ensuring optimal performance in noise reduction and passenger comfort.
Tools and Materials for Effective Repairs

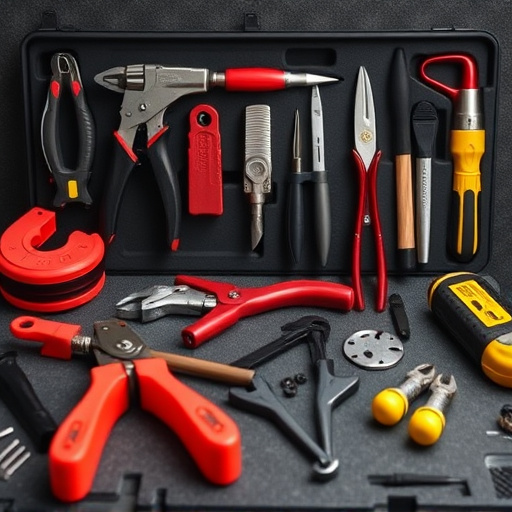
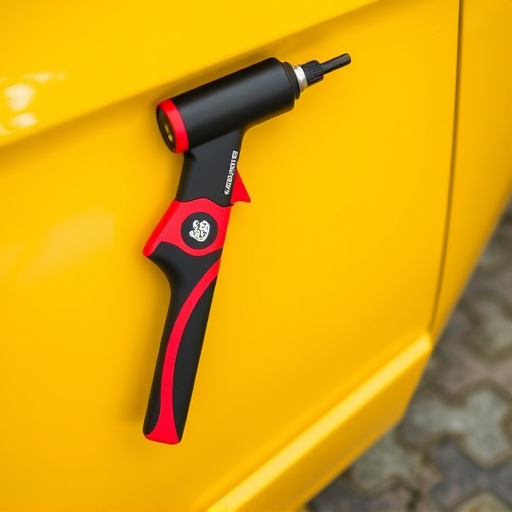
When taking on acoustic glass repair, having the right tools and materials is paramount to achieving effective results. For this type of work, you’ll need a variety of specialized equipment designed for precision and care. This includes tools like glass cutters, sandpaper in various grits, and a heat source (like a hair dryer or heat gun) to gently warm and reshape the glass without causing cracks or breaks.
Additionally, stock up on essential repair materials such as adhesive sealants specifically formulated for acoustic applications, putty knives for applying the sealant, and clear coating to protect the repaired area. While an auto repair shop or automotive collision repair center might have many of these items on hand, for smaller-scale repairs, investing in a well-curated kit tailored to acoustic glass repair will ensure you’re prepared to handle the job efficiently and with professional results.
Step-by-Step Repair Process: From Assessment to Restoration

The first step in acoustic glass repair is a thorough assessment. Begin by examining the damage—cracks, chips, or scratches—and determining their severity. This involves both visual inspection and, in some cases, using specialized tools to gauge the depth and extent of the damage. Once the assessment is complete, gather the necessary tools and materials for the repair process. This could include resins, hardeners, sandpaper, and protective gear.
Next, prepare the damaged area by cleaning it thoroughly to ensure no debris or contaminants remain. This step is crucial for achieving a strong bond between the repair material and the existing glass. After cleaning, lightly sand the affected zone to create a rough texture that will help the repair compound adhere better. Fill in any cracks or chips using the appropriate resin, allowing it to set according to the manufacturer’s instructions. Once hardened, gently sand again to smooth out any imperfections, then apply a clear coat to match the original finish and restore the glass to its pristine state, effectively completing the acoustic glass repair process.
Acoustic glass repair is a rewarding skill that allows you to preserve and enhance the beauty of your acoustic instruments. By understanding the different types of acoustic glass, common damage, and utilizing the right tools and materials, beginners can effectively repair their instruments at home. Following a structured step-by-step process ensures successful restoration, extending the life of your cherished acoustic gear. With this beginner’s guide, you’re equipped to tackle basic repairs and maintain your musical companions for years to come.