

Modern vehicles' acoustic glass can be damaged, affecting structural integrity and noise insulation. Car body shops specialize in repair, assessing damage, using advanced tools and techniques to preserve glass integrity and restore optimal noise levels. Before repair, ensure proper tools, materials, and preparation of the damaged area. Repairs involve mixing and applying compounds, allowing cure time, then testing acoustic performance for effective noise reduction.
“Discover the secrets to restoring your vehicle’s acoustic integrity with our comprehensive guide on acoustic glass repair. Learn how to identify and understand the damage, as well as gather the necessary tools and materials for an effective fix. We’ll walk you through a step-by-step process, ensuring your windshield is restored to its optimal state. From assessment to completion, this tutorial will empower you with the knowledge to tackle acoustic glass repair head-on.”
- Understanding Acoustic Glass Damage and Repair
- Gather Tools and Materials for Effective Fix
- Step-by-Step Guide to Acoustic Windshield Restoration
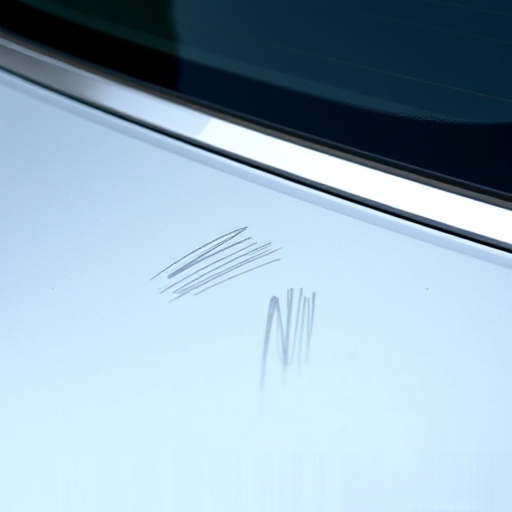
Understanding Acoustic Glass Damage and Repair
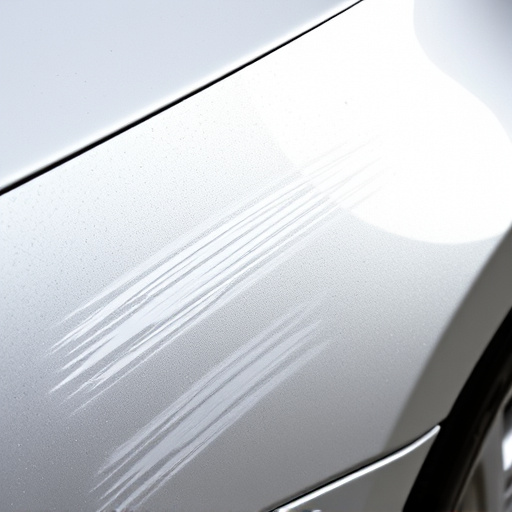
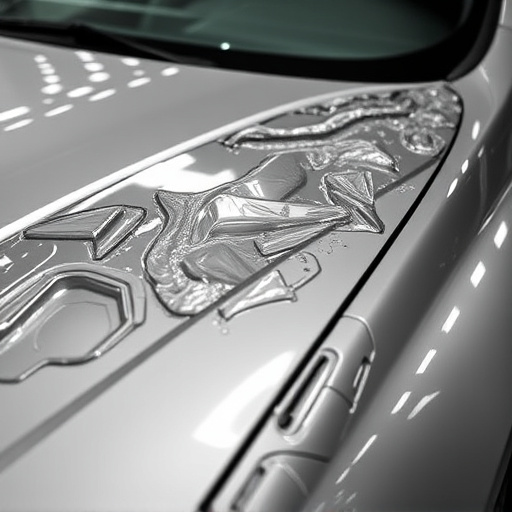
Acoustic glass damage can occur due to various reasons, such as accidents, impact from debris, or even regular wear and tear. It’s important to understand that acoustic glass, often found in modern vehicles, serves a dual purpose: it provides structural integrity and insulates the cabin from external noise. When damaged, these layers can be compromised, leading to increased noise levels inside the vehicle. This is where acoustic glass repair comes into play, offering a specialized solution for both functional and aesthetic restoration.
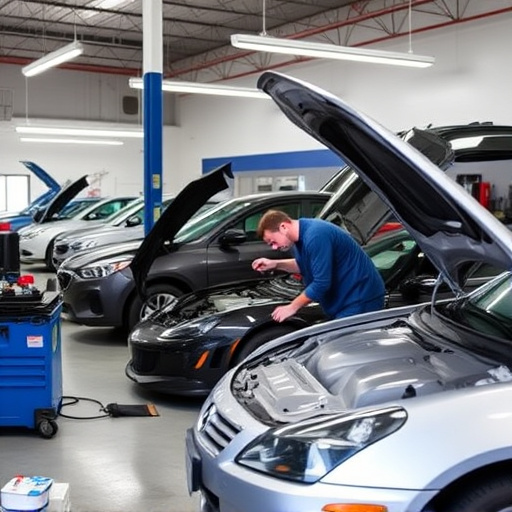
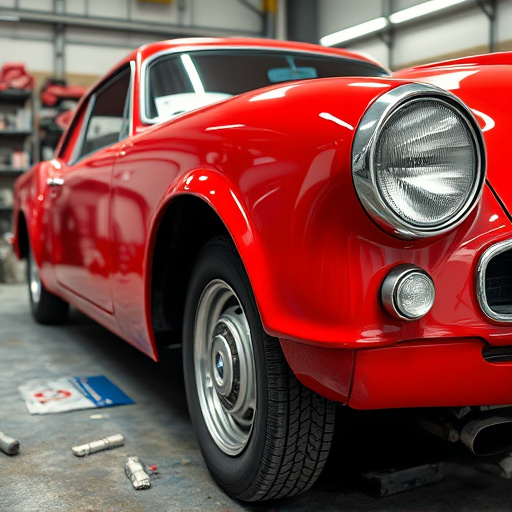
In a car body shop, professionals skilled in luxury vehicle repair can assess and identify acoustic glass damage, which might not always be apparent to the untrained eye. Unlike traditional dent removal techniques, acoustic glass repair requires precise tools and knowledge to preserve the integrity of the glass while ensuring noise levels return to their optimal state. The process involves careful inspection, patching, or replacing damaged areas, and finally, retesting to guarantee both safety and effective sound insulation.
Gather Tools and Materials for Effective Fix

Before tackling any acoustic glass repair, it’s crucial to gather the right tools and materials. For this specific task, you’ll need a range of items designed for precision and effectiveness. Start with high-quality acoustic windshield repair kits that include adhesives, sealants, and applicators tailored for automotive use. Don’t forget protective gear such as gloves and safety glasses to safeguard against potential hazards. Additionally, gather other essentials like a clean cloth, rubber mallet, and a heat gun or hair dryer for warming up the glass before application.
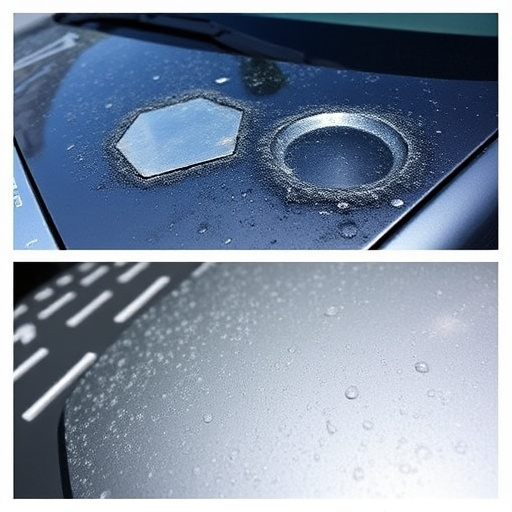
Ensuring you have all these elements on hand is just the first step; proper preparation of the damaged area in an auto collision center or automotive collision repair shop is equally important. Clean the windshield thoroughly to remove any dirt or debris that could interfere with the adhesive’s bond. Inspect the crack or chip for size and depth, as this will determine the extent of the repairs required, whether it’s a minor fix or part of more extensive auto body repairs.
Step-by-Step Guide to Acoustic Windshield Restoration

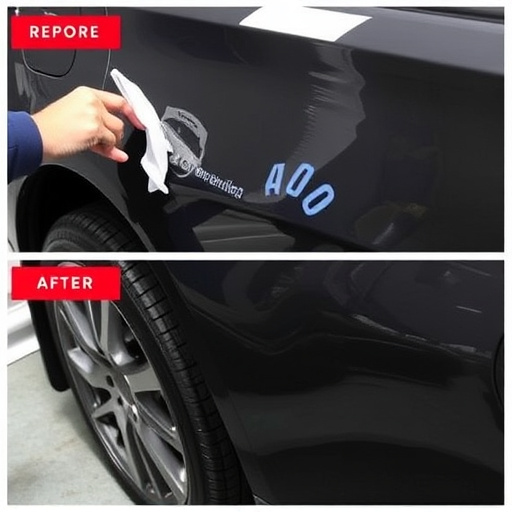
Restoring your vehicle’s acoustic windshield involves a meticulous process that can enhance both the functionality and aesthetic appeal of your car’s front window. Here’s a step-by-step guide to help you achieve optimal results with acoustic glass repair techniques.
Begin by thoroughly inspecting the damaged area. Identify cracks, chips, or any signs of deterioration on the windshield surface. Ensure the area around the damage is clean and free from debris. Next, gather your tools and materials: a high-quality acoustic glass repair kit, which typically includes a resin, hardener, applicators, and protective gear. Put on gloves and safety goggles to protect yourself during the repair process. Carefully follow the instructions provided with the kit for mixing the resin and hardener in the correct ratios. This precise measurement is crucial for achieving the best bond strength. Using the provided applicators, carefully apply a thin layer of the mixed compound onto the damaged area, ensuring complete coverage without overfilling the crack or chip. Allow the repair to cure according to the manufacturer’s guidelines before inspecting the results. Once cured, test the acoustic performance of the windshield to confirm its integrity and effectiveness in noise reduction.
Applying acoustic windshield repair products effectively requires a thoughtful approach, as detailed in this guide. By understanding acoustic glass damage, gathering the right tools and materials, and following a step-by-step process, you can successfully restore your vehicle’s acoustic glass. Embrace the process, and enjoy enhanced sound quality and a safer driving experience after your acoustic glass repair.